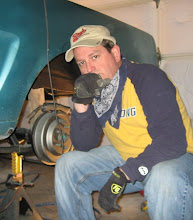
Been a while since I made a post on my blog. Promise you I have not been slacking, but held up with other issues. I will do my best to get you up to date.
I went to tackle the fenders, and thought they would be simple strip, and prime. LOL! As we all know it never works like that. I started with the Driver side since it was replaced when the car was in a wreak. Looks pretty obvious from all the body work it was hit from behind, went off the road and hit a tree on the drivers side. They fixed it up and found a victim to buy it. My guess is I am victim number 2 since the people I bought it from had it for a while due to the amount of crud under the fenders etc..
I start to remove the paint with a wire wheel on a drill.
I put plastic on the garage door, and hung sheets to help with the dust and vacuum up when done.
I figured it was a new fender and a paper tag on the inside showed it came from a Ford dealer in Delaware. Which makes sense because I bought the car in Maryland which is close.
As I get to the front of the fender, I find body filler. They had filler all over the hood in this area.
Removal of the filler and I find damage to a new fender?
More filler.
I removed the headlight bucket area so I could repair the damage to the front
 |
| Welded back in place. |
The front edge was a mess.
Add metal
Shape.
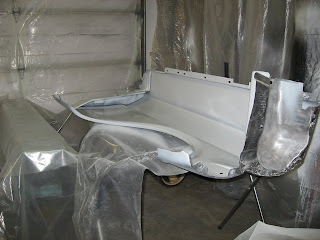
Primer.
Test fit the extension.
Needs more work.
Shaving the metal
Looking much better.
Prime the front.
I found the fender anchor was missing so I welded one in.
I am finishing up the other fender now so look forward to an update.


