Thursday, April 7, 2011

More Hood pics and on to the Fenders! Yay!

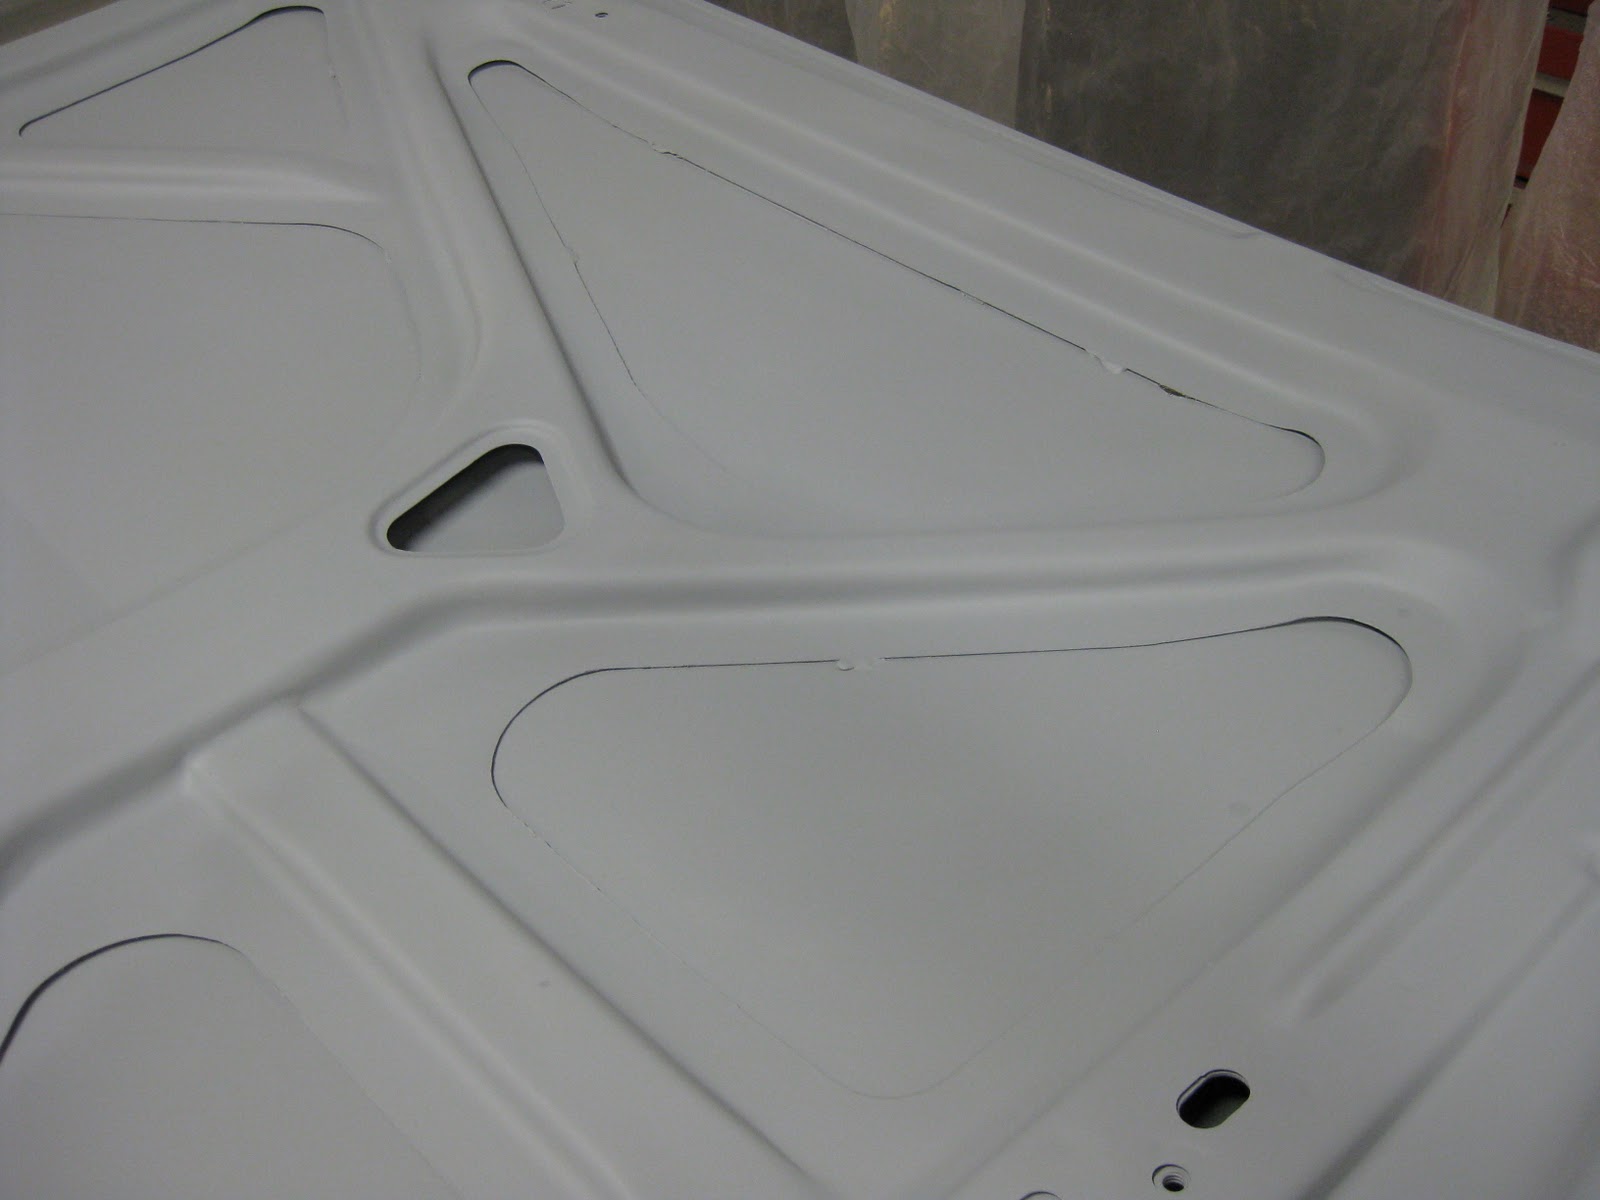
Last blog I was still working on the hood.  Here is the pics of the final work and priming stage.


Tip looked worse before.  Sharpie works great for pointing out the area that need attention.

Add a little metal to the low areas.


Cleaned up and ready for some primer.


Prep and paint.


Remember the inside of the hood when I cut away the skeleton?  Protection being applied.


A little more prep work needed.  The green spray is from the frame coating.


I use a heater under the hood to help the paint dry.  Don't spray with the heater on though. 


Looking better.


More prep on the top.

I brought the hood down to the basement without taking a pic.  Here is the outside edge of the hood.

The inside edge.
Finished.  Because of the pin holes from the rust I replaced one of the oblong holes towards the tip of the hood.


When I cleaned off the hood with the wire wheel, it ate away at the set up putty between the skeleton and the skin.  I reapplied the putty with some Permatex form-a-gasket sealer and lifting up the panel to apply the putty.  Worked well.


On to the fenders!  Another challenge!  Ugg :-(

Thursday, February 17, 2011

Trunk Lid and Hoodie

Well I know it's been a long time since I made a post so I'll do my best to get you up to speed.  Dr. Do Over has been very busy repairing other peoples mistakes plus some of my own.  The quarter panels, were a big challenge.  The trunk was more work than expected so I move on to other parts of the car which need attention.


The trunk lid was in great shape.  Just needed some cleaning up and some primer.


Then I cleaned up some poor weld joints in the rear quarters.


I had to do the same to both sides.  Someone before me enjoyed slathering on the bondo!

So I took the trunk lid to the basement and brought out hoodie.  Never knew why they painted the underside black.

What's this?  A crack?  humm...  

Why would someone weld rods onto the tips of a hood?  Because it was in a fender bender long time ago and some body shop decided to hurry up and slather bondo all over my hood.  Well I could replace the hood, $400 or fix the original hood for next to nothing! Here is my hoodie story work.


 Removing the paint!


I tried the spray on paint remover. Worked good but multiple layers needed some help.


There is the layer of bondo to hide the real problem.


Not only did they use a gallon of bondo on the hood, they used large body files to screw up the rest of the hood.  Dents, dings, blaa.  I thought about the $400 for a new hood again. 


My reaction to the hood condition.


So I made a template of the passenger side of the hood.


This doesn't look right.  Two rods welded onto the tip of the drivers side?  This made no logic as I moved on.  Maybe to hold all the bondo.


Mark up the skeleton side of the hood to cut.  Yep, I'm going to peel back the hood skin and remove the skeleton so I can metal ding the hood back to some kind of normal shape.


Peeling back the skin.  


Removed the section.


Still not sure why they had to weld rods onto the hood.  The lip was still in place. Sure maybe on a door edge to make it fit, but the front of the hood?


It's called metal bumping not metal banging!  LOL.  Sponge was used for heat and shrink with water.  


Ugly hood tip after I removed the rods from the front.


Why? They didn't have a ruler to know it's same size as the other side?


Broke out old Spotty O'Welder to attach the backing plate where the rubber hood stops matches up. 


Trying to fit the section back in.  It came out easy.  


Clamp it down to hold it in place as I bend the lip back over.


Skeleton wants to fit, sort of...

Fitting the part back in looks easier than it does.  I'm thinking I should have just bought a new hood.


Need to prep the metal for primer.

More to come....

Sunday, September 12, 2010

Body work,and more a fixin's

It's been months since I wrote anything on my blog but it doesn't mean I haven't been working on the Stang.  Actually I got a new job and I have been very busy during the day.   But at night I work on the Stang a couple of hours every night.  One of my biggest problem has always been my welder.  It was a nice wire-feed flux core which worked great on thick metal.  But the thin stuff is no match for it and I really needed a Mig welder.  Eastwood had recently came out with a group of welders just for folks like me.  So I got the MIG 135.  Side note.  Argon gas canisters are about $200 for just the cylinder and then you get to trade in the old one for a new one.  I opted for the smaller tank but I should have gotten the larger one because I go through a tank about once a week.  This welder is one huge improvement and I can work on the thin stuff without burning holes.


Again with the quarter panels.  The inside panel and out side panel was not matched up properly and there was a lot of body filler in this area.  I had to pull the dent out with a dent puller, weld it up, clean it up and smooth it out.

I got to use my new welder!  Yeah!

Much better.

Inside the trunk.  This shelf was a real mess.  I replaced the trunk support and didn't replace the shelf.   It didn't look right so I cut it out and replaced it.


Patch panel.  There is the old flux core welder on the floor.  

Welding patch in place.  I'm still cleaning up this part.  Pics to come on next blog.

More to working on the Passenger side.  You can see the small Argon tank I got.  The guys at the tractor supply place where I get my exchange said I can upgrade to the larger tank.

A while back I took the trunk lid off and decided to detail the hardware.


In the media blaster tank.  


Here it is cleaned up and packed away.

Sorry for the delay in sending an update.  More to come.