In my last blog I was going to work on the passenger fender next.
This is the only fender on the whole car that is still original to the car. So I wanted to do my best at preserving it and restore it. I was sort of excited to finally work on a part of the car that had some hidden code or maybe a marking. With most Mustang's this age, the lower back of the fender would get clogged with road grime and eventually rust. This one was patched with a panel.
Found the patch panel and a ton of body filler. I think this fender weighed 20lbs more than the other. Okay, 10 pounds. Odd, why the crazy panel welding.
All that filler is hiding something.
Looks like the same work as the body shop that did the floors.
New panels welded on top of old rusted ones.
And this big sink hole.
At this point I wanted to give up on even trying to save it.
The moon has a better landscape.
The reason why the panel was not fully extended to the back was the fact that they didn't even trim off the front lip of the patch panel. Slap it on, slather on the filler.
The inside support of the fender is not that bad.
I bought a new patch and the inside support bottom half. Not real happy with the metal work of the patch. It's much thicker than the original. But I moved forward to make my cuts.
Cut, grind, cut.
New panel tack welded.
I only cut off the rusted part and kept the wheel well lip.
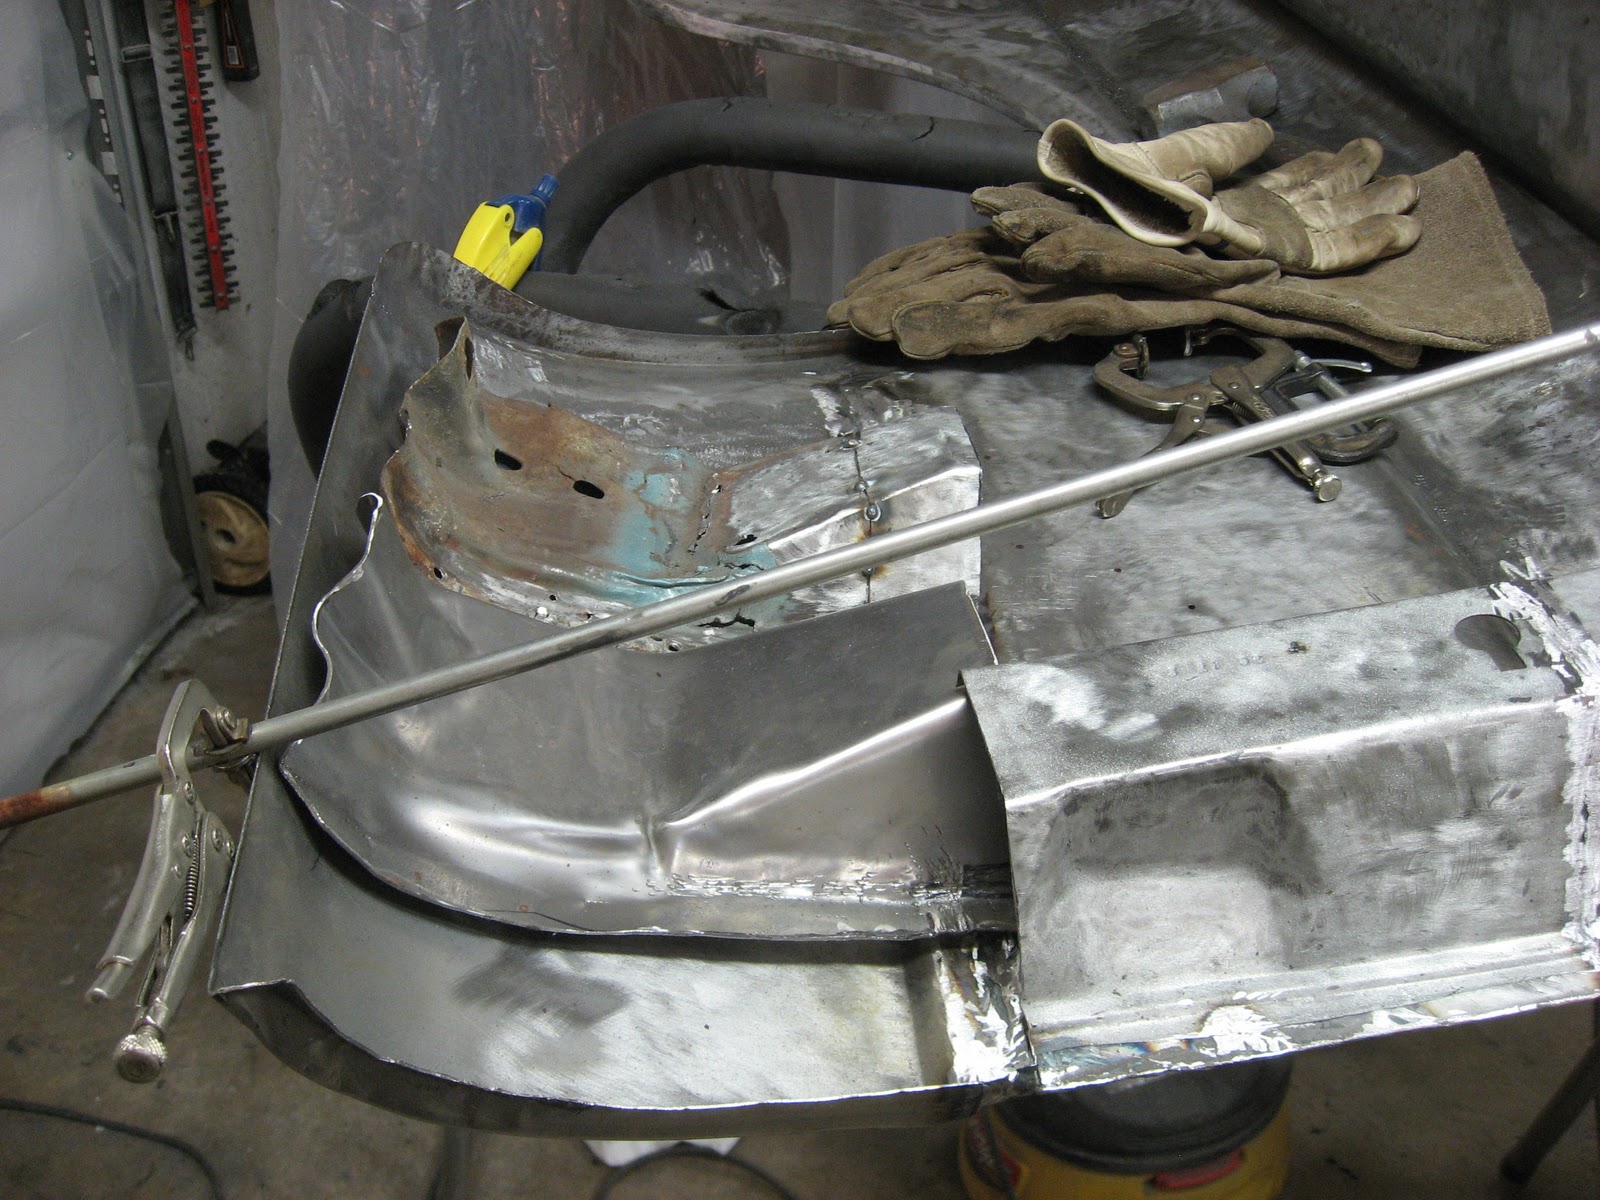
I removed the whole support so I could get into the edge to metal bump the lunar landing / moon crater of a fender.
Reassemble the support structure.
Fitting the lower inner support.
Brought the old one out for measurement.
Lower support welded in place and fixing the edge lip.
After hours and hours of fitting / alignment / cursing / and filler / sanding and paint I think I got it. Not real happy with the fit so far.
Side by side, left and right fender. Very close. I will know more when I put the doors on and test fit.
If you are wondering why the fenders are a dark brown, I found the bottom coat of paint / primer while stripping the paint off and I always found this color as the base coat in the fender, outside the fender and even on other parts of the car.
Sorry for the late blog, I did this work months ago.